Showing posts with label Buildings. Show all posts

Saturday, 31 August 2024

Old West Town

For our What a Cowboy campaign I needed an Old West town. I love the MDF Old West buildings from Sarissa and TT Combat, but due to space and budget restrictions I needed to find other options. 

I have found that paper buildings (e.g. from Dave Graffam) work well for me. While Dave has some buildings available that fit in an Old West town, he doesn't have things like a saloon or sherrif's office. Fortunately I found the Rio Draco set from Fat Dragon Games.

Instead of foamboard I use cheap corrugated cardboard as support for the paper. Basically the method is the same as described in my Old town post.


The cardboard house is glued to an MDF base supported by pieces of styrofoam.


Then the paper building walls are glued to the cardboard.


To maximise ease of storage I decided to leave out the boardwalk parts except for the saloon and build separate ones from popsicle sticks.


I remembered covering the side of the cardboard building walls for the bank before attaching the paper wall.


I forgot to do this for other buildings and fixed this by inserting matchsticks.


And covering the top of the front with coffee stirrer sticks.


The finished buildings in a town setting, together with Dave Graffam buildings:


Tuesday, 10 August 2021

City in a box

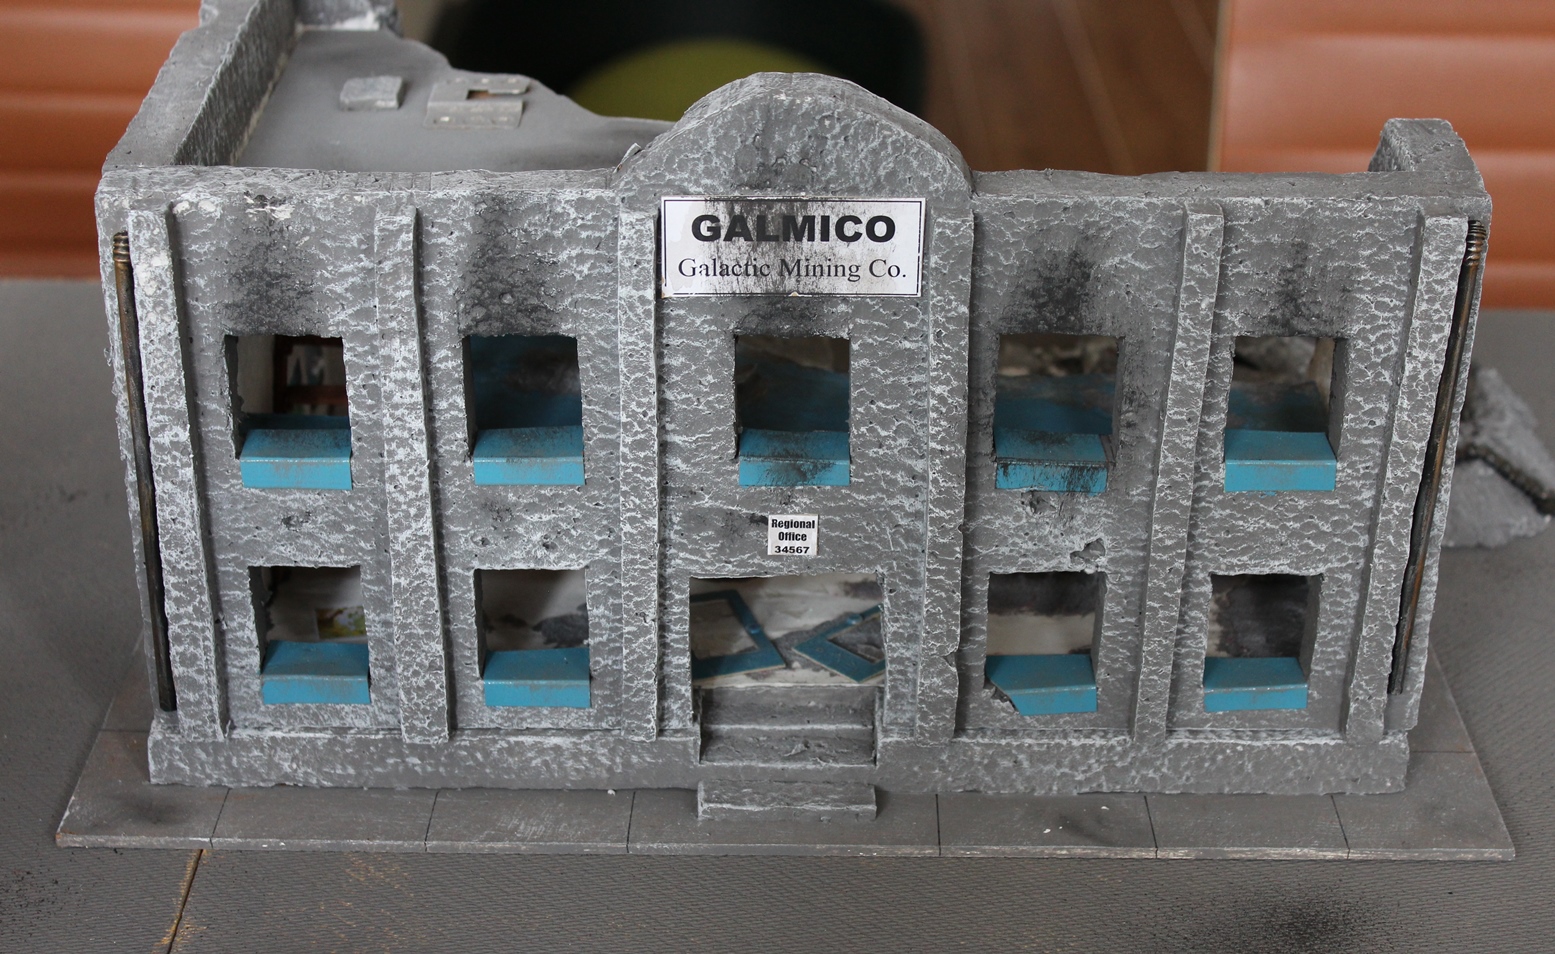
 Ages ago, when I was still regularly playing 40K, I wanted to build a ruined city. I was as pressed for hobby storage space back then as I am today. So I had bought a box and planned the buildings to be modular in such a way that the entire city would fit in the box.

I remember taking a lot of w.i.p. pictures, but I could find only one in my digital archive:


After a recent game with my son (look here for pictures of the city in a game) I remembered to take some new pictures for this post.

The city consists of 3 big buildings and 3 small buildings/ruins, a few walls and rubble piles and some burnt out cars and other obstacles. It fits on a 6x4 table (several open spaces) or on a 4x4 table (less open space). The box is 44x37x37 cm (17,5x14,5x14,5 inches).

All large buildings were constructed using polystyrene for the walls and MDF for the base and the floors. The walls are not fixed to the base but are all corner-pieces so they can stand without toppling over.

A sheet of polystyrene was added to some of the bases to provide some depth for bomb craters.


The floors have toothpics glued underneath which fit into small plastic straw pieces glued into the walls (see picture). This allows more weight (minis) to be put on the floors and provides some protection against wear and tear.


An example of one of the smaller buildings. For the other ones I only built the base and used plastic ruins (cornerpieces) for the walls. 


The "bricks" are pieces of sprue frame.

The city inside the box:


Note: I found out the hard way that it pays to take a few pictures at several stages while fitting the city inside the box. It is a tight fit so there only a few ways it will all actually fit. The pictures greatly speed up the process of storing the city after a game!


Saturday, 18 July 2020

Oldtown

From my terrain building archives.

Oldtown or Building a dirt cheap (fantasy) village in 10 easy steps

  • 4 residential buildings with 1 floor
  • 4 residential buildings with 2 floors (first floor is lift off)
  • 1 bell tower
  • 1 smithy


Step 1 Collect materials:

  • corrugated cardboard
  • regular cardboard
  • (brick) textured wallpaper
  • wooden popsicle sticks / coffee stirrers
  • matchsticks/toothpicks
  • drinking straws
  • bits


Step 2 Ground floor (2 types):

  • use rectangular thick cardboard as base
  • Cut walls from corrugated cardboard
  • Glue textured wallpaper on walls (options: stone pattern, spackle pattern)
  • Cut out windows and door openings
  • Attach walls to base
  • Cut "cornerstones" from cereal box cardboard
  • Glue stones on corners and optionally around door/window bits


Type 3 chimney (see step 8)


Step 3: First floor

  • Use rectangular thick cardboard as the base (make sure the base overlaps the walls from step 2)
  • Cut walls from corrugated cardboard
  • Cut out windows openings
  • Attach walls to base
  • Glue wooden popsicle sticks / coffee stirrers on walls
  • Alternatively construct half-timbered first floor 
  • Alternatively use textured wallpaper (spackle pattern) instead of textured paint


Step 4: Smithy

Same as residential building with only ground floor and a large outside (back)wall chimney (see step 8). Leave out  front wall.


Step 5: Bell Tower

Same as residential stone buildings, only different cardboard shape and makes use of  “stepped” facade.


Step 6: Paint stone

It’s easier to paint the textured wallpaper “stones” before adding details so:

First layer: black, subsequent layers: drybrush greys, and white as finish.


Step 7: Roof

  • Cut a piece of cardboard (thicker than cereal box card, thinner than the cardboard used for the base) to size
  • Draw a line across the middle
  • Cut halfway trough with a sharp knife
  • Paint your 1 sided corrugated cardboard black (preparation for step 10)

You can get corrugated cardboard by peeling off one side of regular corrugated cardboard, but cardboard with one corrugated side is also used as packaging material.

Perils of the Warp:

In order to prevent warping roofs it’s a good idea to give the 1 sided corrugated cardboard a basecoat before cutting it into strips. This basecoat will cause the cardboard to warp, but after cutting strips from it, gluing them on the roof and drybrushing them, the roof itself will not warp.

Lesson learned: It is better to paint the roof base on which the tiles are glued black before you glue on the tiles. This prevents the lighter base being visible trough cracks between the rows of tiles.


Step 8: Chimneys

  • Cut the sides from corrugated cardboard or blocks from polystyrene depending on the type:
  • - roof chimney (type 1, polystyrene)
  • - roof chimney (type 2, polystyrene)
  • - outside wall chimney (type 3, cardboard)
  • Glue textured wallpaper on chimneys
  • Cut “cornerstones” from cereal box cardboard and glue them on corners (optional).
  • Cut small cardboard strips and glue them on to hide corrugation

Type 1 chimneys

Type 2 chimneys

Step 9 Details & roof finish**:

  • Add details: windows, curtains, wire mesh (stained glass windows), smithy interior, etc.
  • Add doors,
  • Add wooden sheds
  • Glue roof onto walls and fix with rubber bands while allowing to set
  • Add beams under roof and first floor
  • flock base
  • Attach chimney type 1 or 2
  • Cut strips from 1 sided corrugated cardboard
  • Glue strips on the roof
  • Glue wooden skewer on top ridge of roof***
  • Cut a drinking straw in half lengthwise
  • Cut small pan tiles from the halves
  • Add a line of pan tiles on the top ridge


Step 10 Further detailing and Paint:

  • Add lots and lots of bits (especially the smithy).
  • Paint the pieces in the desired colours.

** Actually you could shuffle a bit between step 8, 9 and 10. To prevent paint getting on the wire mesh it is easier to paint the window ledges first and subsequently add the mesh, curtains, etc and then glue the roof on the walls. Chimneys type 1 & 2 can also be attached later.

*** I only found this out after my first idea didn’t work. The ridge without the skewer has insufficient surface for  gluing the pan tiles. Inserting a wooden skewer increases that surface. (see sketch)


Finished town